3 Steps for Protecting Anyone Who Goes On Your Roof
For the 12th year in a row, OSHA’s annual list of most frequently cited standard violations found a lack of Fall Protection – General Requirements to be the #1 most cited violation. As a premier commercial roofing company, commercial roof safety is paramount. And as employers who value the lives and safety of employees and co-workers, it’s probably very serious to you, too.
There are three essential steps to protect anyone that goes on your roof.
Step 1
MAKE A COMMERCIAL ROOF SAFETY PLAN
“Good fortune is what happens when opportunity meets with planning.”
–Thomas Edison
Always have a roof safety plan before anyone even steps onto your roof. Without a doubt, a good safety plan helps you establish the answers to important questions such as:
- What safety equipment should we use?
- Do we have everything we need?
- What type of commercial roof is it?
- Are there any skylights or leading edges we must be prepared for?
For example, the height and slope of the roof dictate particular safety measures.

Did you know that OSHA’s regulations change depending on whether the slope of the roof is more or less than 4:12? If the roof is a “low-slope” less than 4:12 pitch, there are a few options.
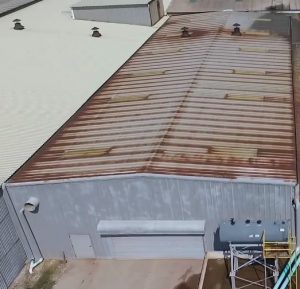
- Guardrail systems
- Safety net systems
- A combination of the warning line system and guardrail systems
- Or, on roofs of 50-feet or less in width, the use of a safety monitoring system alone is allowed
For instance, if the roof is a “steep roof”, greater than 4:12 pitch, the options become more specific.
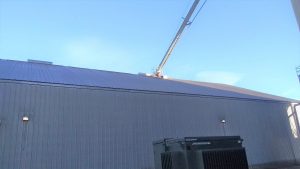
Subsiquently, each employee must be protected from falling by one of the following.
- Guardrail systems with toeboards
- Safety net system
- Personal fall arrest system (PFAS)
Although planning can seem overwhelming, it is the first step. Avoid procrastination. Once your plan is in place, you are one step closer to ensuring everyone can come down from the roof slowly, steadily, and most importantly, safely!
Agan, if you have questions about creating a plan or what types of safety measures need to be included for your facility's roof, you can always call Thermal-Tec's commercial roof safety experts. We can come out and take a look at your roof and explain to you the necessary safety requirements for your team.
Ok. Your plan has been fleshed out. Nice Work! Now what?
Now it’s time to ensure that anyone who goes onto your roof has the right equipment.
Step 2
PROVIDE ADEQUATE SAFETY EQUIPMENT
“Before anything else, preparation is the key to success.”
– Alexander Graham Bell
Step 1 states that the roof pitch dictates many commercial roof safety requirements. For example, if your roof is more than six feet above a lower level (which it probably is…), anyone who goes on it is at risk of serious injury or death if they fall.
A guardrail system, a PFAS (Personal fall arrest system), or a safety net system are all OSHA-compliant ways to keep you and your crew safe while at those heights. And employers must also provide the right equipment for the job, including appropriate ladders, scaffolds, and other additional gear.
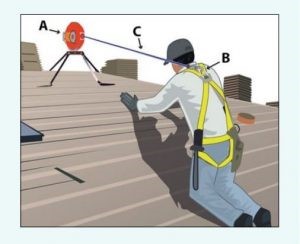
A PFAS consists of (A) an anchor, (B) a harness, and (C) a lifeline or lanyard. PFAS needs to be used properly to be effective. So how do you know if you are using it correctly?
First, it is important not to attach anchors to sheathing, single trusses, or more guardrails. Follow the manufacturer’s instructions when installing anchorage.
Secondly, if you’re going with a Fall Arrest System, it must be designed and set up to prevent a worker from free falling more than six feet or contacting a lower level.
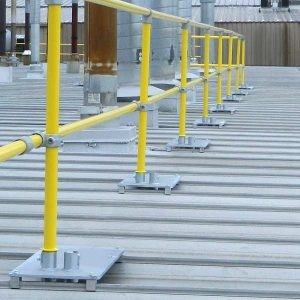
Guardrail Systems can be placed either around the entire perimeter of the roof or just around roof openings. A guardrail must be 39-45 inches above walking surfaces. And they must withstand a 200-pound force in any outward or downward direction.
If there is a hole for materials to come through or as points of access, there needs to be a gate. However, if there is no gate, the guardrail must be offset so no one can walk directly into the hole.
Unquestionably, these items keep your crew safe while working on the roof. Now start shopping and ensure you can provide everyone on your roof with the right equipment!
Now that we’ve covered step two in figuring out the required commercial roof safety equipment you must provide for your team when they step onto your roof, there is one more step to cover. But before we do, take a breath… This is a lot of information to pack into one read.
For any readers feeling reluctant at the thought of spending hours slowly scrolling across the internet – trying to make heads-or-tails of what size D-ring would be best…We Get It!
Nevertheless, if this is you, please bookmark this article to refer back to whenever needed. So much goes into keeping people safe. And it all deserves your attention when your goal is to protect those who must get on your roof.
Again, we’re happy to help you find what you need and can even help you find the same safety products we use frequently. We’d love to learn about your needs and help you decide.
With that said, on to the final step. Step three ensures all this important equipment is used to its fullest potential!
You have your plan. You’ve provided the required equipment. However, it’s still not time to let anyone up on the roof yet. One thing that never changes is that everyone must know the plan first. Furthermore, everyone must know how to use the equipment safely to get on and off the roof.
The goal is to ensure that every person on the roof knows how to be safe and understands the equipment is there as a precaution. That’s why the third step is to TRAIN.
Step 3
CONSISTENT COMMERCIAL ROOF SAFETY TRAINING
“Tell me, and I forget. Teach me, and I remember. Involve me, and I learn.”
– Benjamin Franklin
Accordingly, employers must train anyone accessing the roof on many things, especially how to safely utilize each piece of equipment. Additionally, it’s equally important to train your team to recognize different kinds of hazards. And how to minimize them safely.
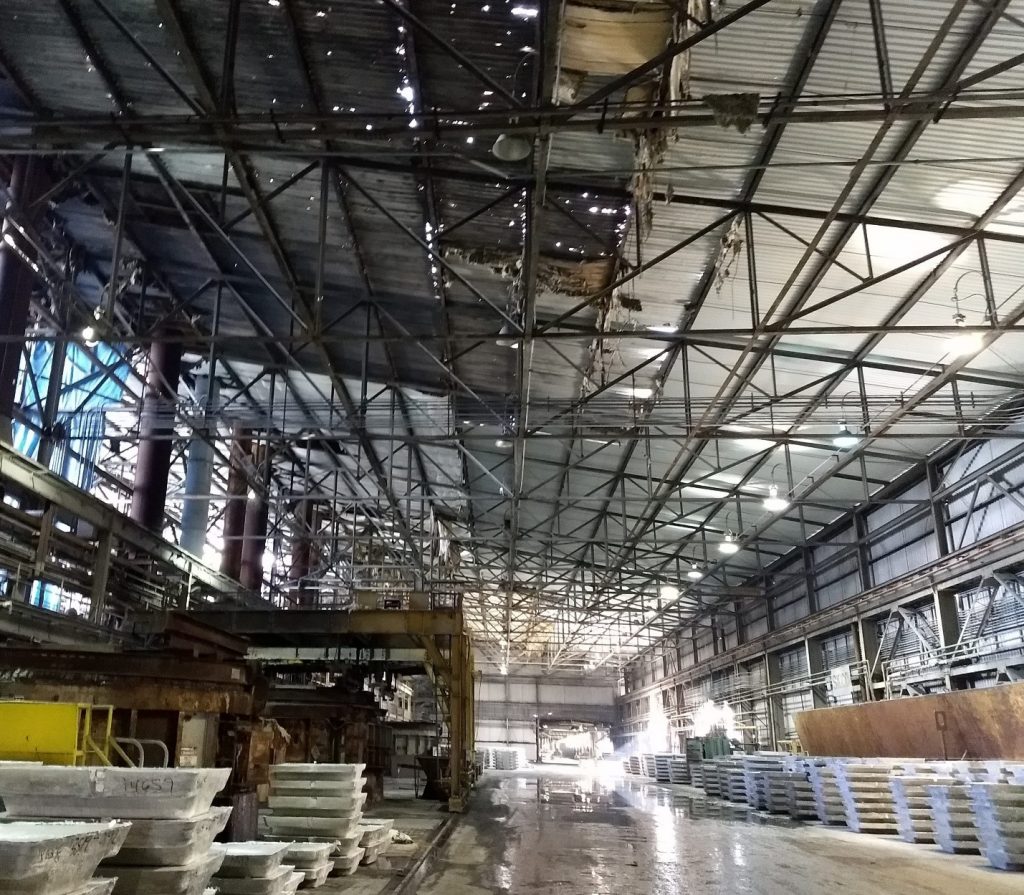
Immediately train employees to identify these common hazards:
1. Roof Stability – Is the roof strong enough to support the weight of a human?
2. Ladder Security & Placement – Is the ladder secure at a 4:1 angle, are the feet secure, the top above the roof line and tied securely?
3. Weather Conditions – Ice, snow, and wind are always a hazard on a roof if it is slippery.
4. Roof Holes – Unguarded skylights and poorly covered holes. Without fall protection, an open hole on a roof can be just as deadly as the roof edge.
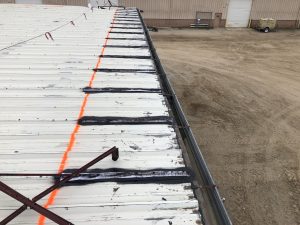
5. Edge Awareness – Losing the roof's edge is a problem when on the roof. Sometimes, people get so wrapped up in their projects they forget where the roof edge is.
6. Improper Use of Fall Protection Equipment – Such as poorly anchored railing, lanyard too long, or a weak tie-off point.
7. Poor Line of Sight – Ridge vents, chimneys, and shingle bundles block egress on a roof.
Commercial roof safety training must be repeated constantly for everyone. Everyone who goes on the roof must be retrained each time equipment changes. Indeed, the same is true when work conditions change, new systems are changed, or regulations are changed. Finally, this last step is the most strenuous because it must be repeated. Just remember it IS a matter of life and death.
Once again, if you have any questions about the safety of your roof or would like more resources on how to train anyone needing to go on the roof, call our metal roof experts. We have SAFELY been going onto roofs for over 40 years and have seen more than 1 Million hours with no OSHA-recordable injuries.
Resources:
United States, Congress, “Protecting Roof Workers.” Protecting Roof Workers, OSHA, pp. 8–16.
“Top 10 Rooftop Safety Hazards.” Simplified Safety, Simplified Safety, simplifiedsafety.com/blog/top-10-rooftop-safety-hazards/.